
How to Render a Custom React Component in Sanity Studio Blocks
July 5, 2022
3 min


Sanity.io is built on top of React.js. This is a huge win for developers since we can easily integrate our own React components into Sanity studio, as well as customize the entire Studio experience end-to-end. In this quick guide, we'll assume you have a basic understanding of Sanity and how the studio works, as well as some React.js experience.
The goal of this tutorial is to integrate a simple custom image component with a caption underneath into Sanity's block type, or rich text editor.
The Schema
Let's create an article schema that has a title and some content. Create a new file in your schema folder called article.js:
1import React from 'react';
2
3export default {
4  name : 'article',
5  title: 'Article',
6  type : 'document',
7
8  fields: [
9    {
10      name : 'title',
11      title: 'Title',
12      type : 'string',
13    },
14    {
15      name : 'content',
16      title: 'Content',
17      type : 'array',
18      of   : [
19        {
20          title: 'Block',
21          type: 'block',
22        },
23      ],
24    },
25  ],
26  preview: {
27    select: {
28      title: 'title',
29    },
30  },
31};
32Note that we're also importing React into our schema file. This is necessary if we want to write a custom React component inside of our schema file.
Then, let's add our article document to our schema.js file.
1// First, we must import the schema creator
2import createSchema from 'part:@sanity/base/schema-creator';
3
4// Then import schema types from any plugins that might expose them
5import schemaTypes from 'all:part:@sanity/base/schema-type';
6
7// We import object and document schemas
8import article from './article';
9
10// Then we give our schema to the builder and provide the result to Sanity
11export default createSchema({
12  // We name our schema
13  name: 'default',
14  types: schemaTypes.concat([
15    // The following are document types which will appear
16    // in the studio.
17    article,
18  ]),
19});
20Now if we load up Sanity studio, we should have something that looks like this:
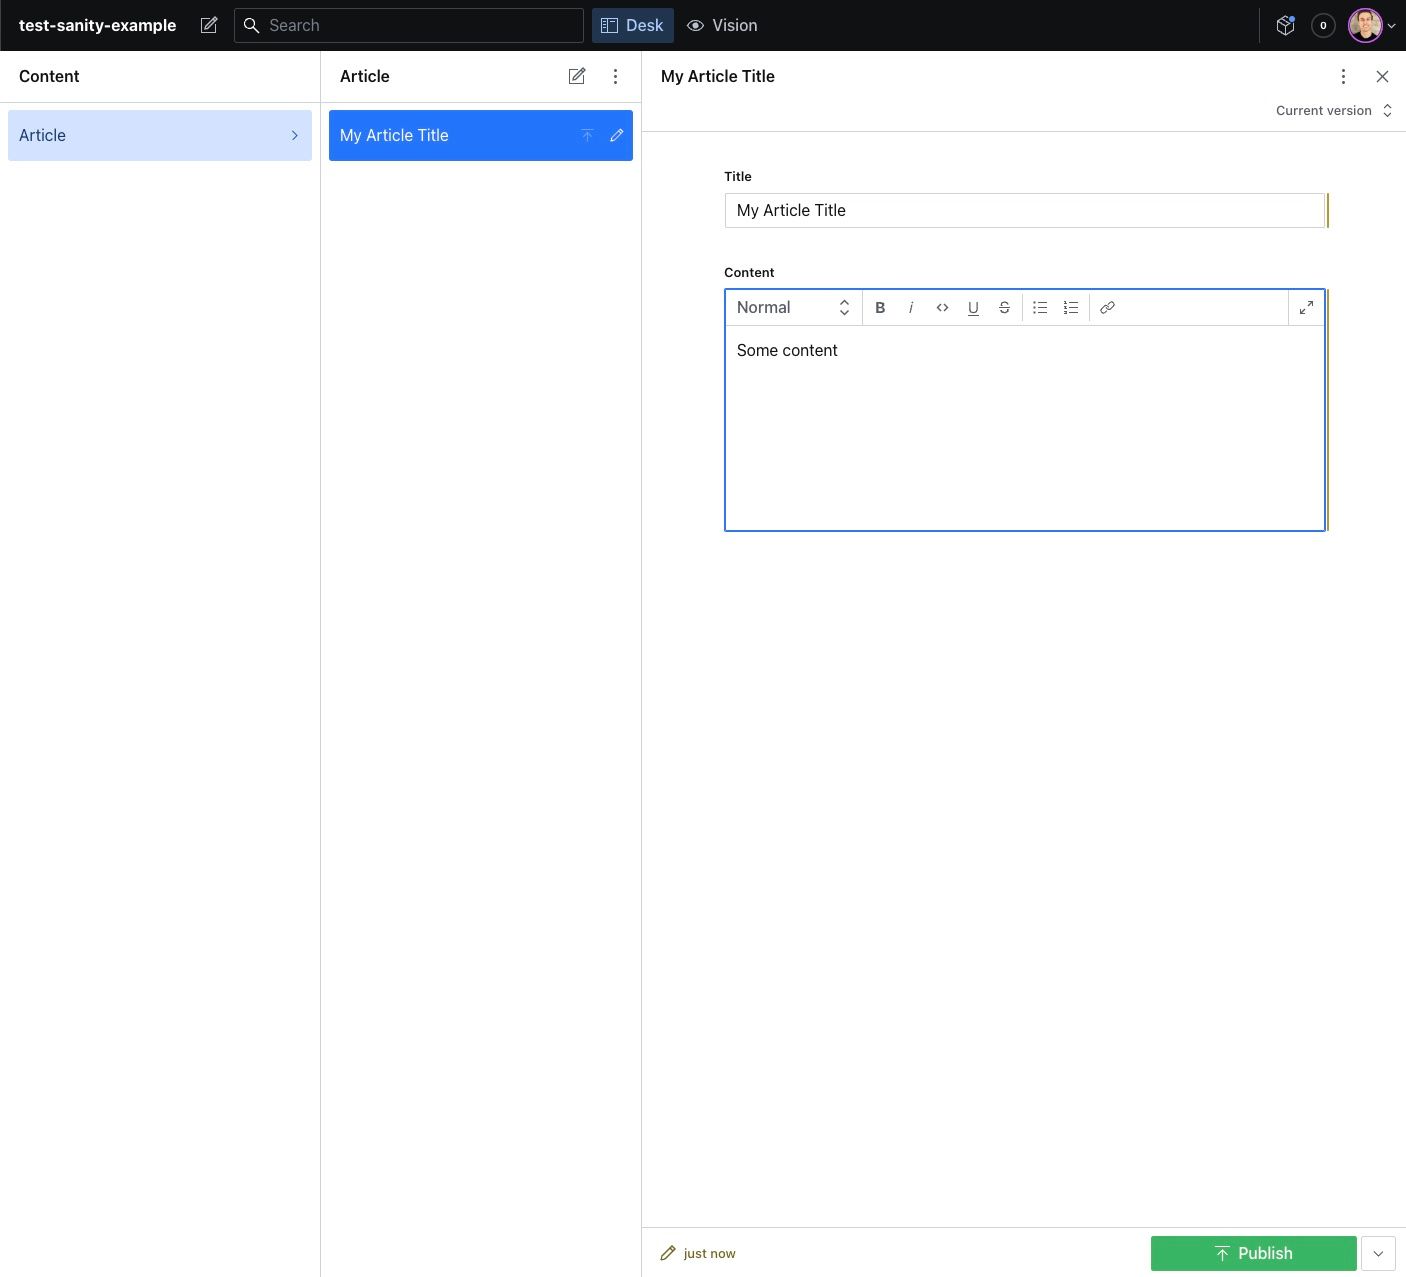
Our article document setup
Creating a Custom Block Component
Building off of the schema above, let's add a new custom block type for our "Image with Caption" component:
1import React from 'react';
2
3export default {
4  name : 'article',
5  title: 'Article',
6  type : 'document',
7
8  fields: [
9    {
10      name : 'title',
11      title: 'Title',
12      type : 'string',
13    },
14    {
15      name : 'content',
16      title: 'Content',
17      type : 'array',
18      of   : [
19        {
20          title: 'Block',
21          type : 'block',
22        },
23        {
24          title: 'Image with Caption',
25          name : 'imageWithCaption',
26          type : 'object',
27
28          fields: [
29            { type: 'image', name: 'image', title: 'Image' },
30            { type: 'text', name: 'caption', title: 'Image Caption' },
31          ],
32          preview: {
33            select: {
34              caption: 'caption',
35              media: 'image.asset.url',
36            },
37            component: ({ value }) => <div style={{ width: '100%', display: 'flex', flexWrap: 'wrap' }}>
38              <img style={{ height: 'auto', width: '100%' }} alt={value?.caption} src={value?.media} />
39              <p style={{ width: '100%', textAlign: 'center'}}>{value.caption}</p>
40            </div>
41          },
42        },
43      ],
44    },
45  ],
46  preview: {
47    select: {
48      title: 'title',
49    },
50  },
51};
52- In our array of block types, we have created a new field called
imageWithCaption - It has two fields,
imageandtext - The
previewfield lets us select which fields from the data we want to pass into our React component - The
componentfield lets us define the look and feel of what the content will look like inside of the content editor
- It receives avalueprop that contains the field we defined inside of theselectblock
What we should have now is something that looks like this:

A new button to add our Image with Caption component
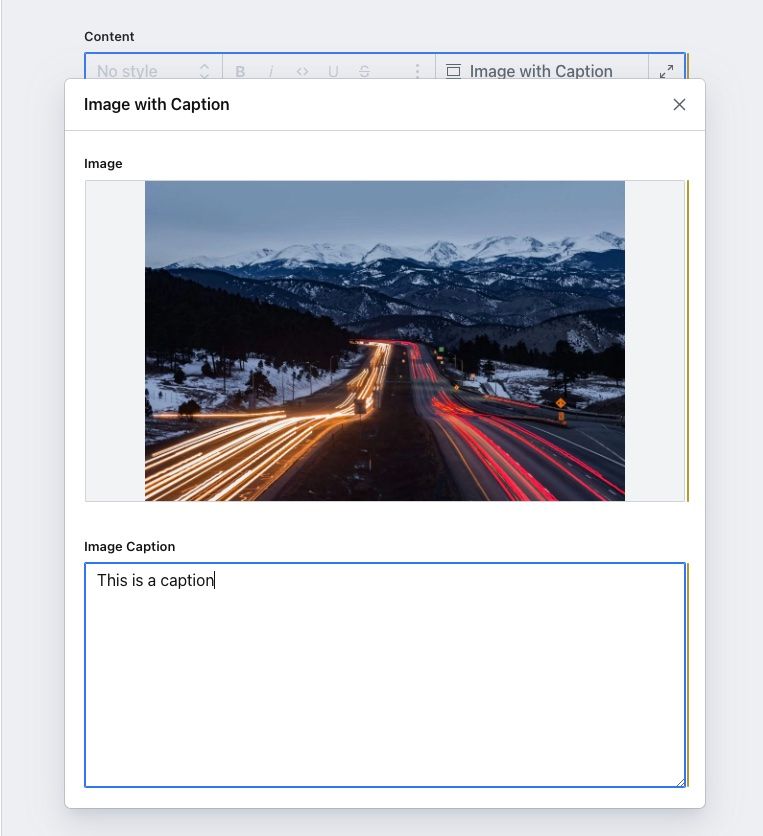
When we click on it we can upload an image and add our caption
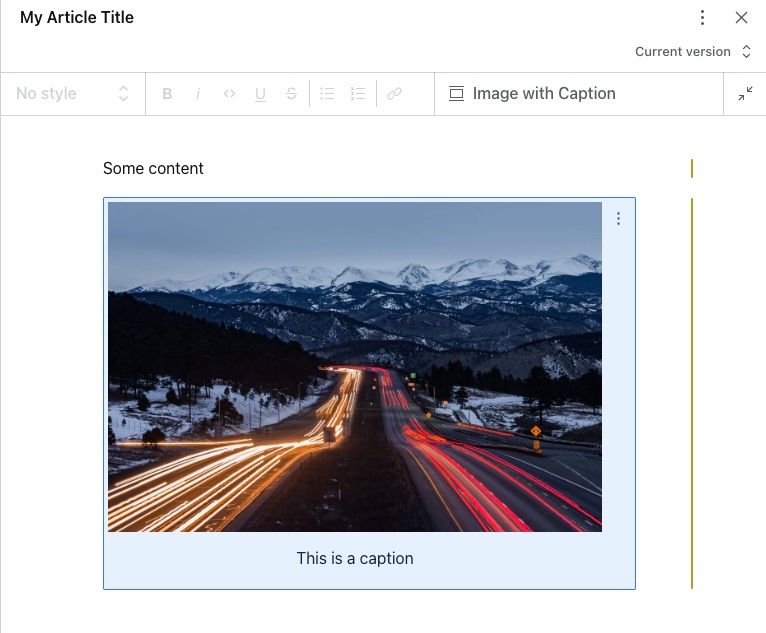
Inside of the content editor, we see our React component displaying the image and caption
Organizing Your Code
Ideally, we don't want to write our components inline like this. Our schema will quickly become very bloated and will be hard to maintain. You will want to create a separate folder for all of your custom components, and import them into your schema instead.
You can also port existing components from your front-end application so that the styles inside of your content editor match what your front-end application will look like in real-time. Play around with importing some of your existing components, and see how powerful Sanity is for your custom integrations and content creation experiences.
Conclusion
If you have any questions about Sanity or custom integrations, you can reach out to our team.
Sanity is an excellent choice for custom web and mobile applications. At Stack Five, we build custom integrations with Sanity and can help bring your digital products to life.


